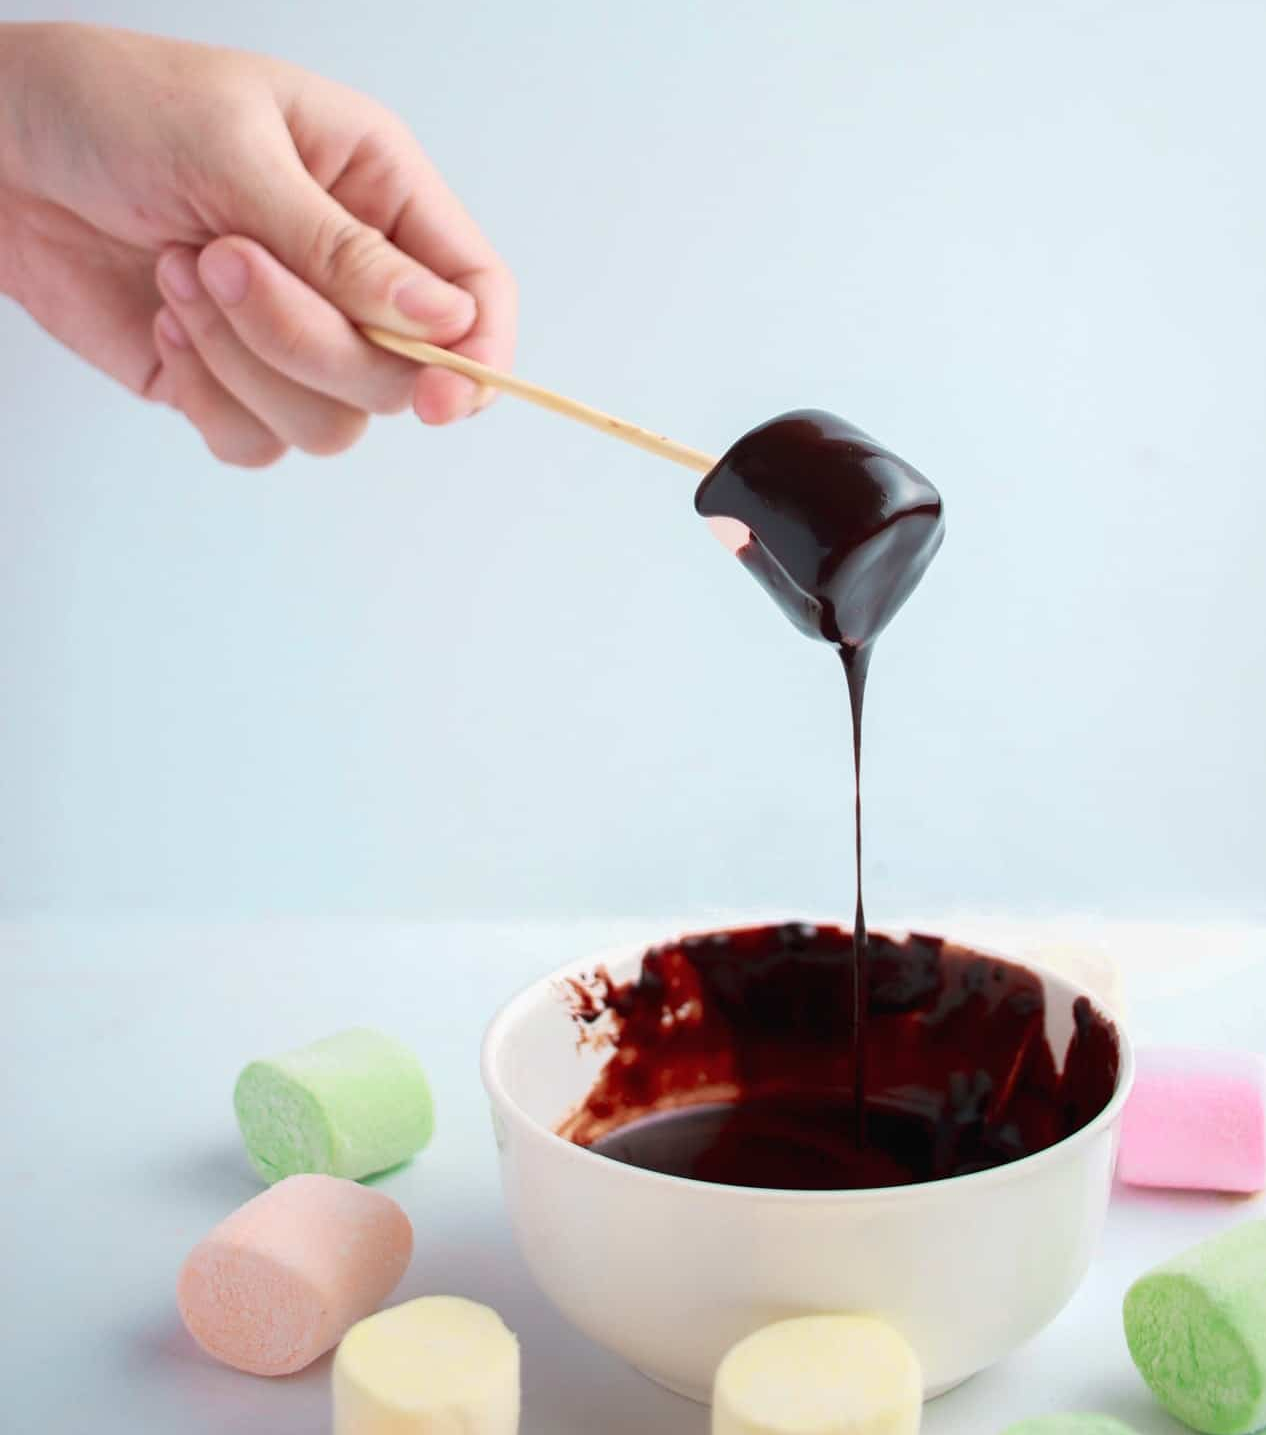
Chocolate ganache for cake is essentially a sauce for pastries that are made from chocolate. It can be used as a glaze, filling, icing, etc. The final application of chocolate ganache for drip cake will depend on what is required in the current recipe. The basic recipe of the ganache calls for equal parts of heavy cream and chocolate.
The cream is first warmed before being poured over the chocolate. The resulting mixture is fluffy, satiny, with an even texture and lots of flavors. Liquors may be added to the ganache flavor. To sweeten it, confectioner’s sugar or corn syrup may be added to the mixture after the chocolate has already melted.
Solid chocolate is often used instead of syrup, and confectioners and bakers are usually picky with how their chocolate ganache with milk is prepared because even the slightest of imbalances can turn a ganache awry. The origin of the name is French, and it first appeared as crème ganache, a type of chocolate truffle that was first produced in 1862.
Overview of Chocolate Ganache
Chocolate ganache is traditionally used for creating truffles, candies, and for complementing baker’s recipes that required fillings, sauces, and glazes. It is an all-around sauce that lends well to different methods because it presents a delicate flavor that is never overpowering, but distinct enough to make the current recipe being made a standout.
The texture of ganache depends mainly on how much cream is used while making it. If you need to create a ganache for filling pastries, then you will need to add more cream to give the ganache a looser or softer consistency and texture. Looser ganache is easier to manipulate and squeeze into pastries at even quantities.
What happens when you add more chocolate instead of cream?
More chocolate in ganache results in the thicker and pastier sauce that is still reasonably liquid at room temperature. However, it would be more challenging to pipe pastier ganache. This variation of the sauce is more ideal when you apply the sauce as a glaze to different kinds of desserts, including cupcakes and full-sized cakes.
Take note that the firmer versions of ganache will ultimately harden when you put them in the refrigerator. Their consistency also allows them to be hardened into chocolate balls and other shapes.
The hardening occurs because of the additional chocolate content. Some bakers add a little butter to the concoction for another dimension of flavor, and to make the resulting ganache smoother and more pleasing to the palate.
Tips on Making Chocolate Ganache
The first secret of making excellent ganache is knowing when to pour the cream on top of the chocolate. But before that, your chocolate has to be chopped up well enough so that more surface area is exposed to the hot cream. This will facilitate the melting of the chocolate as you combine the two ingredients with a mixer or spatula.
Since no direct or indirect heat from a stove or microwave will be used, the heat from the cream is all you have in melting down the chocolate. We’re going to stick to this method because if you pre-melt the chocolate, it may end up becoming hotter than the cream itself, and this may have some unintended consequences on the final product.
Bring the cream to a simmer by placing it in a pot placed over medium heat. Too much heat can cause sugar to burn, and some unintended caramelization may affect the flavor of the ganache.
The cream has to start bubbling all over, but not so much that it threatens to boil over. That’s the time that stray solids will begin to stick to the sides of the pot, and you will lose precious moisture from the cream. You need that moisture to build volume in the chocolate ganache.
Once you pour the hot cream over the prepared chocolate, it will take three to six minutes for the chocolate to be fully ready. Large batches of chocolate may need more time, and it will depend on the chocolate ganache ratio indicated in the recipe you are using.
The waiting period should not be rushed, because you need to give the chocolate ample time to melt. Otherwise, you will end up with a chunky ganache that will be mostly unusable. Mixing too early will also cool down the cream too much, to the point that the internal temperature will no longer be suitable for melting the chocolate.
Once the melting period is over, grab your best whisk and gently incorporate air into the mixture. Focus on combining the two ingredients with consistent, firm strokes.
There is no need to overdo it – allow the whisk to work, and you will get good results. The color should begin to change almost immediately as the melted chocolate from the bottom begins to rise and integrate with the cream. The cream, on the other hand, will begin to thicken as you work with bigger and bigger circles.
The circular movement that is recommended for creating ganache ensures that you will end up with an emulsion. This means that fats and other solids from the chocolate will rise to the top nicely.
Natural buttermilk content from the cream needs to combine well within the mixture so that the water doesn’t sink to the bottom. If you do this correctly, you will get a nice, satiny ganache that is suitable for many, many applications in the kitchen.
For chocolate truffles, the ratio should be 2:1 (2 cups cream to 1 cup of chocolate). Don’t be confused with ratios – simply adjust upward depending on the volume of sauce you need.
For basic frostings for cakes, the recommended ratio is 1:1. This ratio will help you create a firmer ganache that can be applied to the surface of cakes easily. If you need dipping chocolate, you need firmer ganache, with more chocolate flavor. The ratio ideal for dipping chocolate is 1:1.5.

