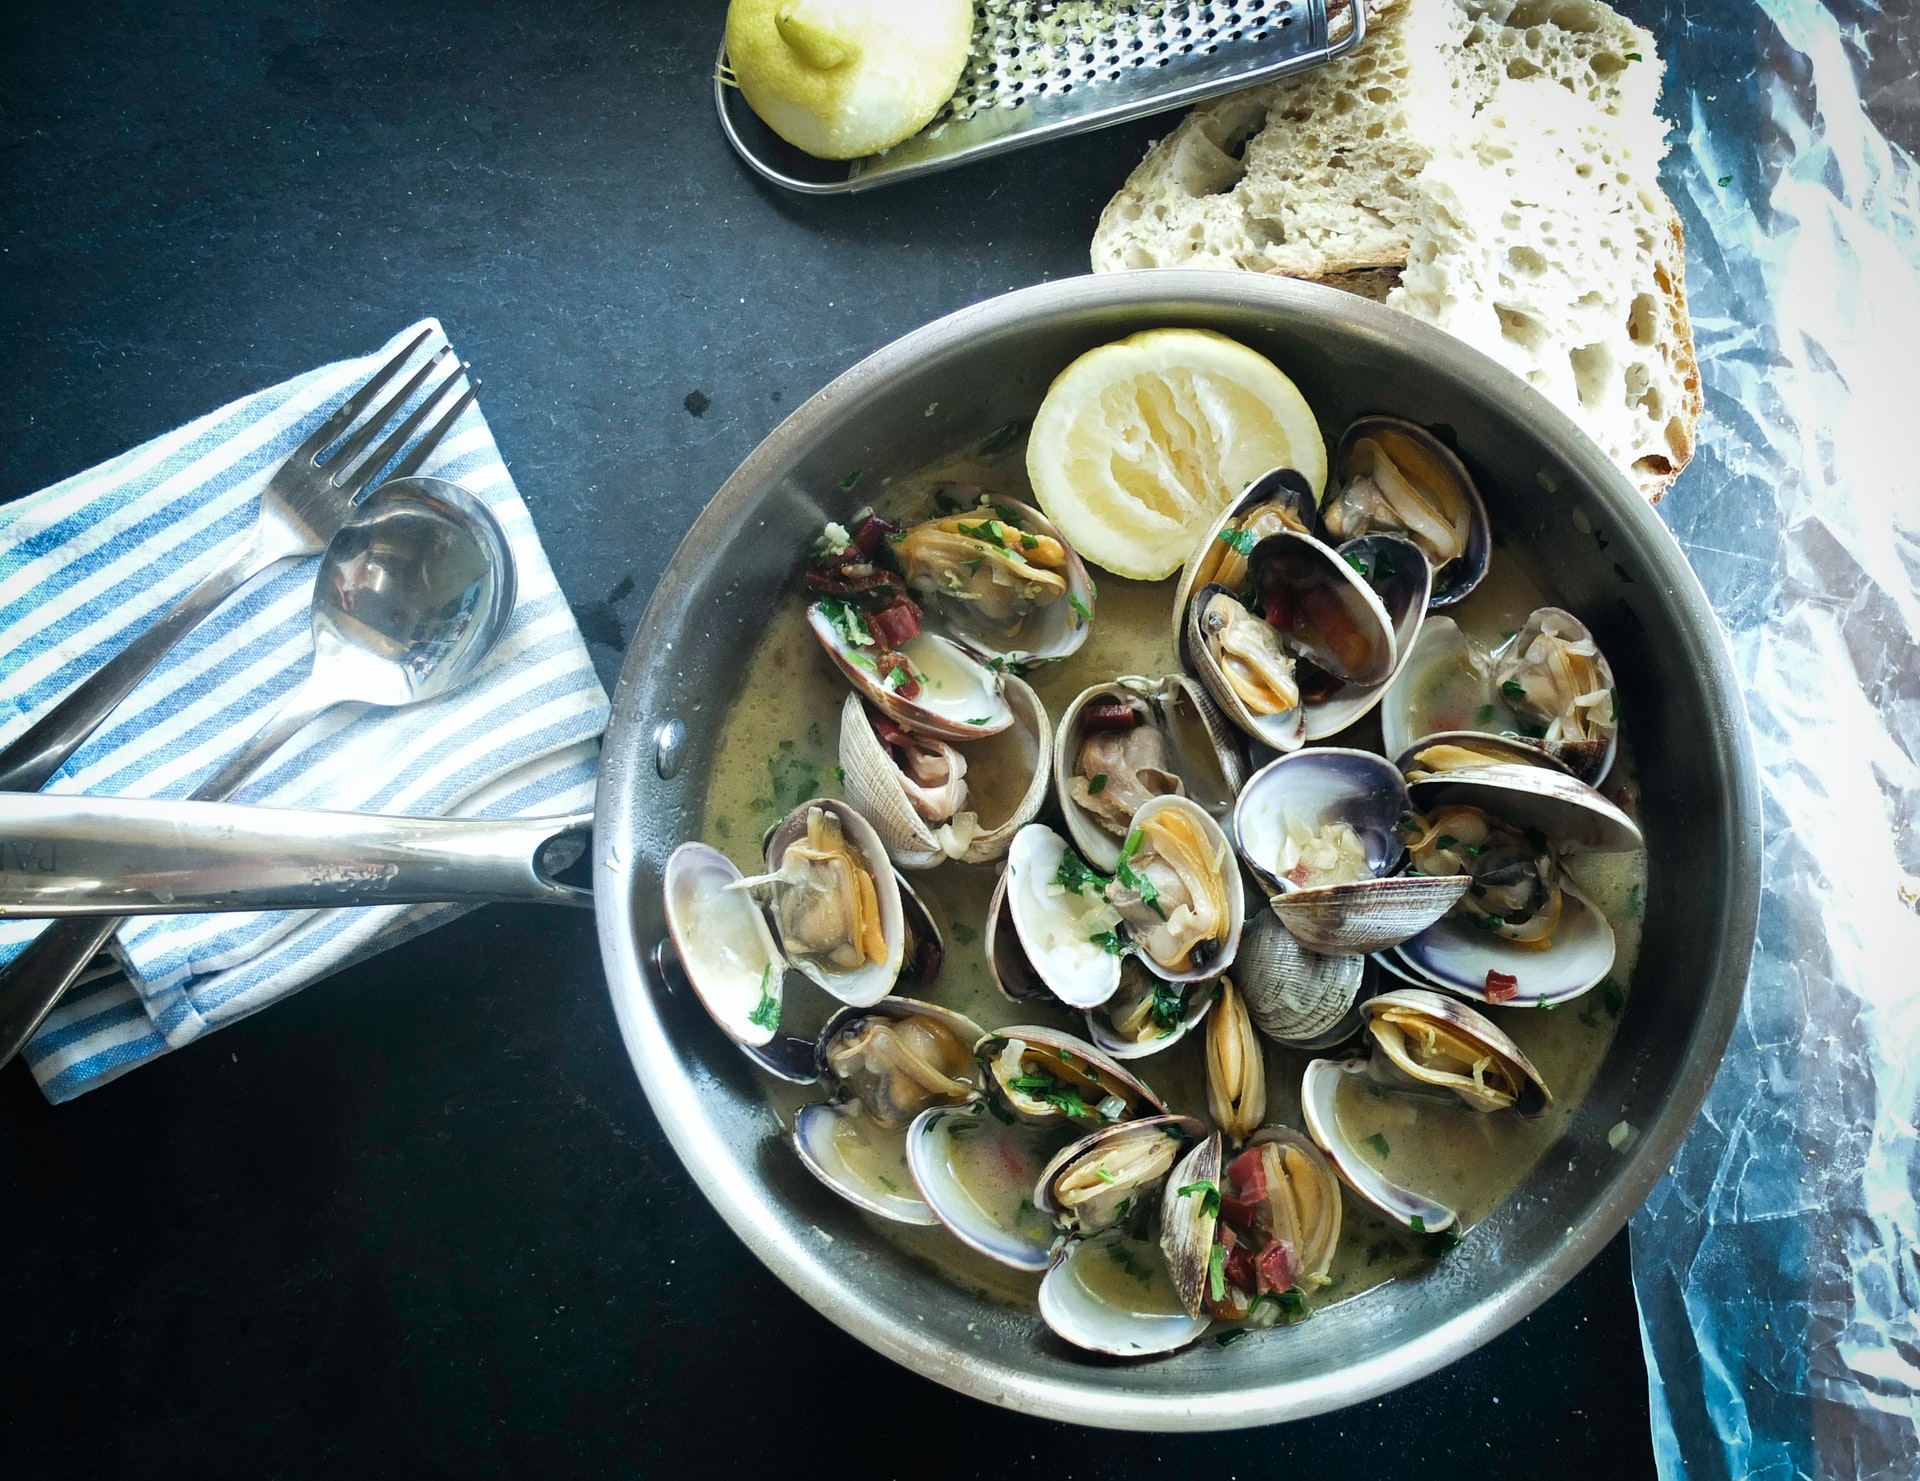
If you are interested in cleaning clams with cornmeal, or how to clean frozen clams, you are in luck, because today’s blog is all about our favorite bivalves and mollusks. We’ll teach you how to clean clams for chowder, as well as how to soak clams overnight.
Storing and Cleaning Clams Like a Pro
Steamed clams are among the yummiest things you can do to these bivalves, and it’s no small wonder that people go for seafood like this whenever they can because nothing compares to the flavors. The first thing that you should do is to make sure that you have live clams (or any other bivalve for that matter).
You should never cook dead bivalves because microbes form quickly on the tender meat inside, and what bacteria they have on their bodies, they are going to pass on to you when you eat the bivalves. Unfortunately, overcooking them or increasing the heat will not help remove the health risk. In addition to bacteria, toxins that emerge when seafood die also accumulate quickly in the flesh of all types of mollusks, not just clams.
If you have confirmed that your clams are mostly dead, do not attempt to pick out the live ones (chances are, you won’t be able to do this accurately anyway) and instead throw out the entire batch. It’s better to buy another batch than to risk getting sick from on an uncertain batch of clams – this is the general rule that you should follow no matter what season you purchased your seafood.
The shells of mussels and clams are slightly ajar when they are alive, and when you touch them, they should shut quickly in response. Oysters, on the other hand, are the opposite – the live ones will keep their shells closed tightly.
Oysters should also float when you put them in water, and if they are open when they make contact with water, the shells should also shut quickly. Anything less means the oysters are dying or are already dead, and these are for disposal as well.
Conducting a smell test is also a good way to see if your seafood is alive. All seafood should smell fresh and of the sea. If you smell anything sharp like ammonia, the meat of the seafood is questionable.
Ironically, fish that smells “fishy” isn’t fresh, and is questionable as well. Fresh fish has a very mild smell because the tissue hasn’t begun to disintegrate at all.
The key to keeping your seafood alive after purchase is in how you store them. Since your clams are alive, they mustn’t suffocate, right? So it’s a bad idea to put them in a sealed plastic bag.
This is the reason why seafood stores usually use mesh bags instead of plastic bags because they need air to survive. The best way to store them in the freezer is to put them in a colander, then place a towel over them. Place ice chips over the towel. Icing them directly is not recommended, as this may damage the delicate flesh underneath the shells.
Heat kills many mollusks, including clams, so aim to store them at 33 degrees Celsius. 35 to 45 degrees Celsius will surely kill them. And if you want to have the ideal storage conditions, pack your clams in seaweed and then place them in the refrigerator. The seaweed covering mimics what they have in the ocean.
Now, if you are wondering if there is any truth about avoiding shellfish during the months when there is no letter “r” in the name of the month, the answer is yes, there is some truth to this. Months without “r” tend to be warmer, and warmer waters bring algal blooms and other potentially problematic growths in the water that shellfish can easily absorb, including paralytic shellfish disease.
Start Cleaning Them Right
The proper preparation of your clams begins hours before cooking time. The first step is to submerge your clams in a basin of saltwater. Don’t use iodized salt as this will instantly kill your clams. Instead, use rock salt/sea salt/Himalayan pink salt/Kosher salt.
Natural salt will recreate the proper conditions that won’t harm your clams while you are still picking out the bad ones and cleaning them. You will need to combine 1/3 cup of salt with 1 gallon of water. Soak the clams for 30 minutes and then drain. Repeat saltwater soaking four more times.
How much cornmeal do I need to clean clams?
Cornmeal helps expel the last remnants of sand inside the clams, so add ½ cup of cornmeal in one gallon of water. Soak the clams for about 3 hours to a maximum of six hours to remove the sand.
Can I soak clams overnight?
Soaking clams overnight is not a good idea, but you may soak them for about eight hours maximum using the method we described earlier: saltwater soaking four times (30 minutes each) followed by cornmeal soaking (3-6 hours).
What is the best way to clean clams?
Much of what we see in supermarkets is commercially farmed clams, so they should be relatively clean on the outside. However, there may be some leftover grit that can be easily removed with brushing. Clean the shells thoroughly. Any beards can be snipped off or pulled by hand. Take note also that clams must be purged with cornmeal or saltwater inside the refrigerator. Room temperature purging may eventually kill your clams and cause them to decompose while still in the water.
Feel free to use a small bucket for purging. Overnight purging does not mean 24 hours – it’s on average 8 hours because people usually purge clams late at night before going to bed. The next morning, the clams have to be removed from the water. You will likely see sand and other purged materials at the bottom of the bucket or basin when you take out the clams.

