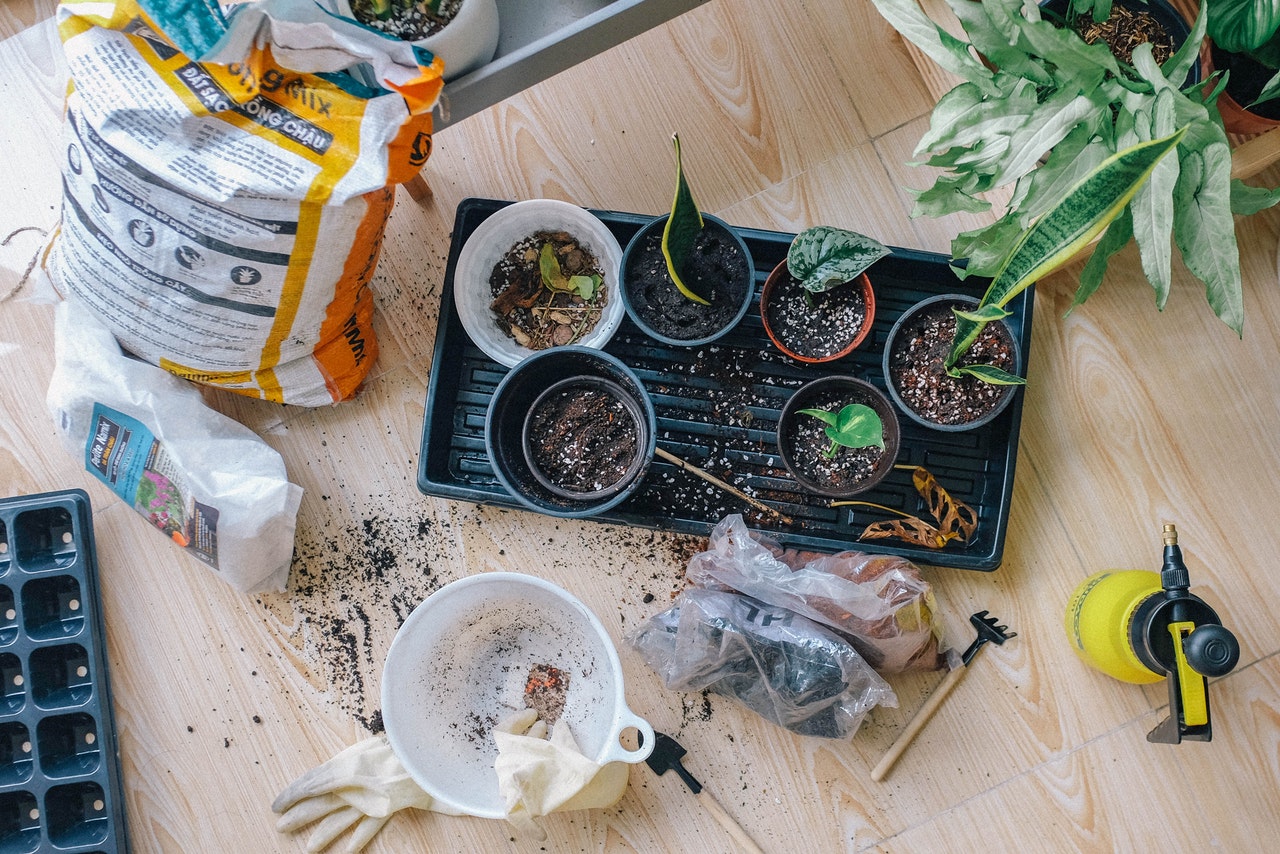
If you want to know how to repot a plant, you’ve come to the right place. In today’s blog, we will discuss how you can use wall planters when repotting plants. These guidelines apply to Christmas plants, the tomatillo plant, and winter plants.
How Do You Repot a Plant Without Killing It?
The main reason why we perform repotting on plants is that the plant has become too big for its former home/pot. Plants are meant to expand and grow, and repotting provides this opportunity so they won’t become stunted in the process. We want to be able to give plants more space for their roots so that the plants will become healthier in the process. However, in many cases, the repotting is done inappropriately, which eventually causes plant death. We want to avoid this scenario, so we’re going to discuss how you can do it, step by step, so your plants can be safely transferred to any pot or wall planter of your choice.
The first step is selecting the correct pot for your plant. If a plant has become so overgrown that you can barely see the pot, then it truly needs to be repotted soon. When selecting a new pot, examine the width needed and add an extra inch on all sides. The new pot also has to have the correct design. Drainage holes are a must, regardless of the material used in the manufacture of the pot. Not having drainage holes can result in rotted plant roots that can kill your plants quickly.
Step two is layering the new pot with soil. The type of soil needed will depend on the plant that you have at the moment. You can also use pre-mixed garden soil. We do not advise digging soil from your backyard because yard soil is often rocky, and it merely does not have the right combination of components of nutrients to sustain plants consistently. When layering the soil, add sufficient base soil so that the plant does not spill over too much around the top.
The third step is watering and conditioning the plant that is to be transferred. The plant has to be ‘happy’ before the transfer. Believe it or not, plants have been known to send chemical signals that can pass for emotions. They have different states. This means that physically transferring a plant counts as ‘trauma’ for different kinds of plants, so we need to consider this reality.
The fourth step is removing the old plant from its pot. Do not pull out the plant by the stems. Instead, turn the pot upside down use a trowel to ease it out gently. Gently rotate the plant in both directions until the soil becomes completely loose. A trowel or an old long knife can be used to remove the soil that has stuck to the interior of the pot.
The fifth step is pruning the root ball and removing brambles from the soil. Removing some of the old roots is beneficial to plants and will encourage them to grow new ones. The proliferation of a new root system in a new pot will help the plant thrive. Untangling the root system, so they face outward instead of tangling at the bottom of the pot, will also increase the likelihood of survival.
Put the plant into its new pot. Give the body of the plant one firm push to bond the old soil with the new one. Pat down the soil once again to increase stability and encourage the rest of the old soil to settle into the new space.
When Should You Repot a Plant?
The ideal time for repotting a plant is during spring. The reason for this is that the spring is the most active time for plants because they recover from cold spells. Tropical plants are designed by nature to propagate year-round because tropical plants receive moisture and direct sunlight twelve months a year, even during the rainy or typhoon season.
Some additional signs that your plant may need to be repotted include:
- The frequent drying out of the potting mix.
- Roots are poking out of the drain holes.
- The plant appears stunted and unable to continue growing.
- The roots of the plant are growing in a more considerable circular manner, and there is a high concentration of it near the bottom.
- The plant looks too large for its current pot.
- The plant is no longer growing at all.
- Water is no longer being absorbed and runs down the drainage holes.
Why Did My Plant Die After Repotting?
The main reason for plant death after repotting is repotting stress. Repotting stress occurs when a plant is not transferred carefully or adequately. Not paying attention to the method can cause this toxic stress on indoor plants. You can help a plant thrive after repotting if you pay close attention to the primary symptoms such as dropping leaves or yellow leaves. But as with anything associated with plant care, you must pay attention to the bigger picture. Apart from watering, we encourage people to apply plant food (the all-purpose type) to newly transplanted plants to ensure survival. Dead leaves should also be removed, and some of the stems end to encourage the plant to grow in its new home.
What Happens If You Don’t Repot a Plant?
Most plants do well in their original pots, but those that do begin to grow extensively need to be repotted after a long time. Plants are living things; they develop just like us. Eventually, smaller pots need to be removed and replacing with larger ones. Plants that are not appropriately repotted may not be able to grow properly and absorb the number of nutrients that they need to thrive.

