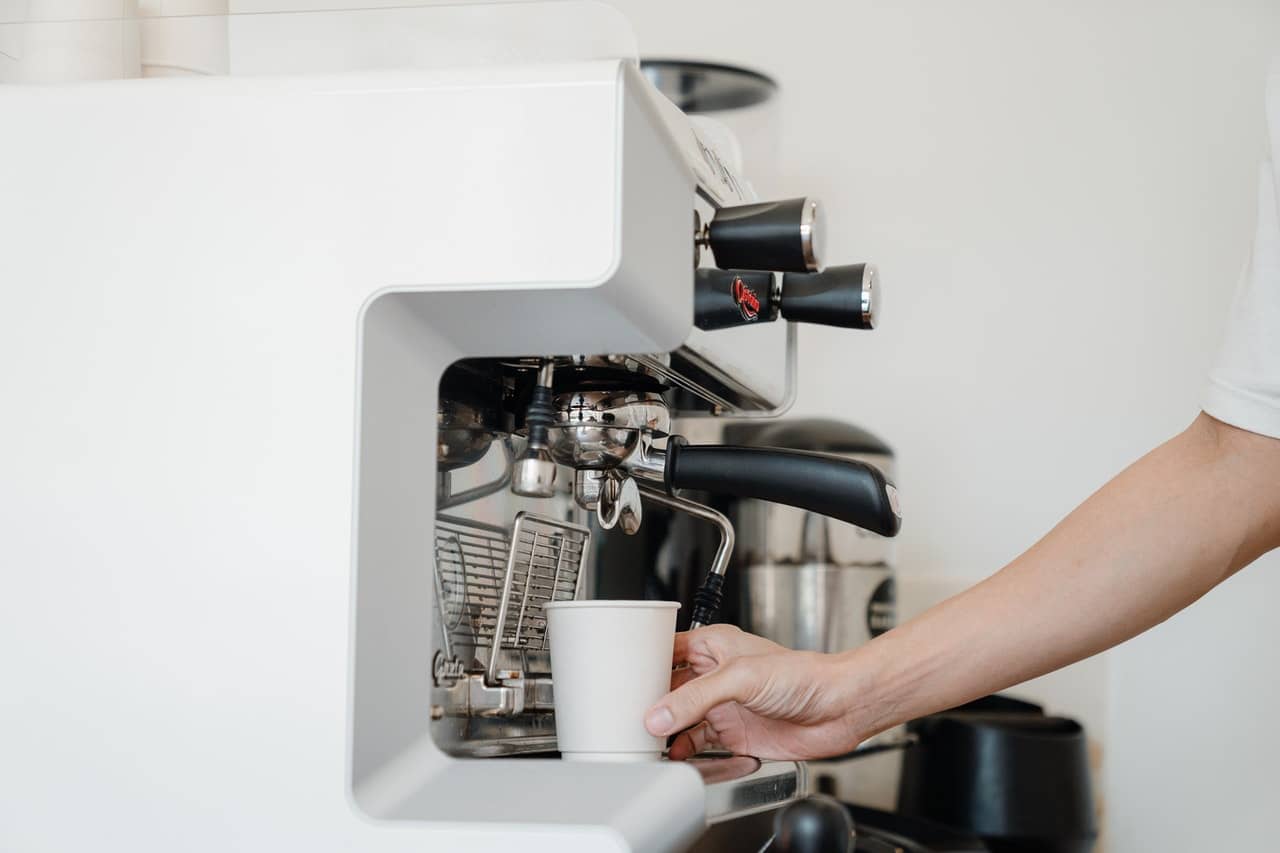
Whether you have shiny Keurig at home or a trust Cooks coffee maker, you have to know how to clean it properly.
How to Clean a Keurig Coffee Pot? How do you descale a Keurig coffee maker?
It’s best to know how to clean a coffee maker with vinegar if you only want to use more natural cleaning agents. Keurig coffee machines can eventually accumulate debris on the inside, which is the tough part. Scaling and other debris on the outside are easier to wipe off. To fully and deeply clean a Keurig coffee machine, you need to apply a cleaning solution. Our first recommendation is to use a vinegar solution. If this doesn’t work, you can check our guide on cleaning your coffee machine with bleach.
Don’t worry – you don’t have to clean your coffee maker this way every time. However, if you want to keep it in top condition and if you don’t like muck mixing with your coffee, we recommend doing a vinegar descaling every one or two months. But then again, the actual frequency of descaling will depend on a lot of factors.
Some of these factors include the water quality you live in and the frequency at which you use your Keurig coffee pot or coffee maker. Once a month might work if you enjoy only a cup or two on most mornings.
If you drink five to eight cups of coffee a day (hey, we don’t judge), you may want to increase the rate of cleanings.
The first step in the process is dismantling your Keurig coffee machine. But first, don’t forget to unplug it! This is important. Please don’t touch anything inside the machine while it’s still plugged in. Remove all of the parts that can pull off easily, including the drip tray, the cover, the reservoir for the cold water the lid, and then hold for the K-cup. Remove the funnel as well.
Please take note that there is a needle around the area of the K-cup, so be careful not to hit or damage it. The best approach is to hold the holder with both hands and then wiggle the container. It will eventually loosen, and you can safely pull it out.
We might be interested in clearing the Keurig coffee machine’s insides, but we’re also going to make sure that all of the removable parts are as clean as can be. Wash them as you would on a normal day. Use some warm water and soap and a soft brush or sponge. If there is some serious grime issue on any of them, you can always soak these parts for fifteen minutes or more to loosen any coffee grime. Take a look if there are any pods that you may have missed and discard them as well.
After washing and rinsing everything, it’s time to dry the removable parts. Wipe them with some paper towels and allow them to sit there and air-dry naturally. We highly recommend using a lint-free towel on these parts of the coffee maker.
Next up for some heavy cleaning is the needle. The needle in your Keurig coffee machine is responsible for punching holes into the K-cups. It also allows for liquid to flow and drip. To remove any hard build-ups here, use a small paper clip and use the end to remove any visible debris or accumulations.
The trick is to slowly insert the tip of the paper clip into the needle’s terminal end. Push it in and allow the metal to grab any grime. Slowly pull it out to get rid of the grime. Do it again until you are satisfied.
What if you see any grime inside that you can’t reach with a paper towel or cloth? Feel free to use some warm water and an old toothbrush to brush away the grime. It will only take a bit of brushing to get rid of coffee-related grime anyway.
When all of the preliminary cleanings are over, it’s time for the descaling procedure. This is simple. Put back all of the loose parts of your Keurig coffee machine.
Fill the cold water reservoir with water and vinegar. Use a 1:1 ratio. Run a complete cycle with this water. Make sure that you have a cup to catch the vinegar cleaning solution. Repeat the process several more times. Observe the water quality. You will notice that the vinegar water is not exactly clean even if there isn’t a coffee pod loaded into the machine.
Continue cycling the vinegar cleaning solution until the traces of grime are completely cleared.
The moment you reach your final vinegar solution cycle, cycle one or two rounds of plain water. This will ensure that the vinegar smell and taste are eliminated. Don’t worry: the smell of vinegar is very easy to wash off, especially hot water. Your Keurig coffee machine is going to smell fresh afterward.
How to clean a coffee maker with bleach?
In general, coffee machine brands do not recommend cleaning with bleach because people might overdo it and leave traces of bleach in their coffee machines. This is not something that you’d like if you want your coffee tasting right.
Also, there is no guarantee that you will be able to completely flush out the system’s bleach once it’s there. Could you not do it? It’s not worth the risk.
Bleach can only be safely used on the removable parts of the coffee maker. The reason for this is that these parts can be rinsed thoroughly and then air-dried after.
We disinfect kitchenware all the time with bleach, and we know how to use warm water to our advantage to get the bleach out. However, you can’t do this with a coffee machine’s insides, so we discourage descaling with bleach and any amount of bleach.

