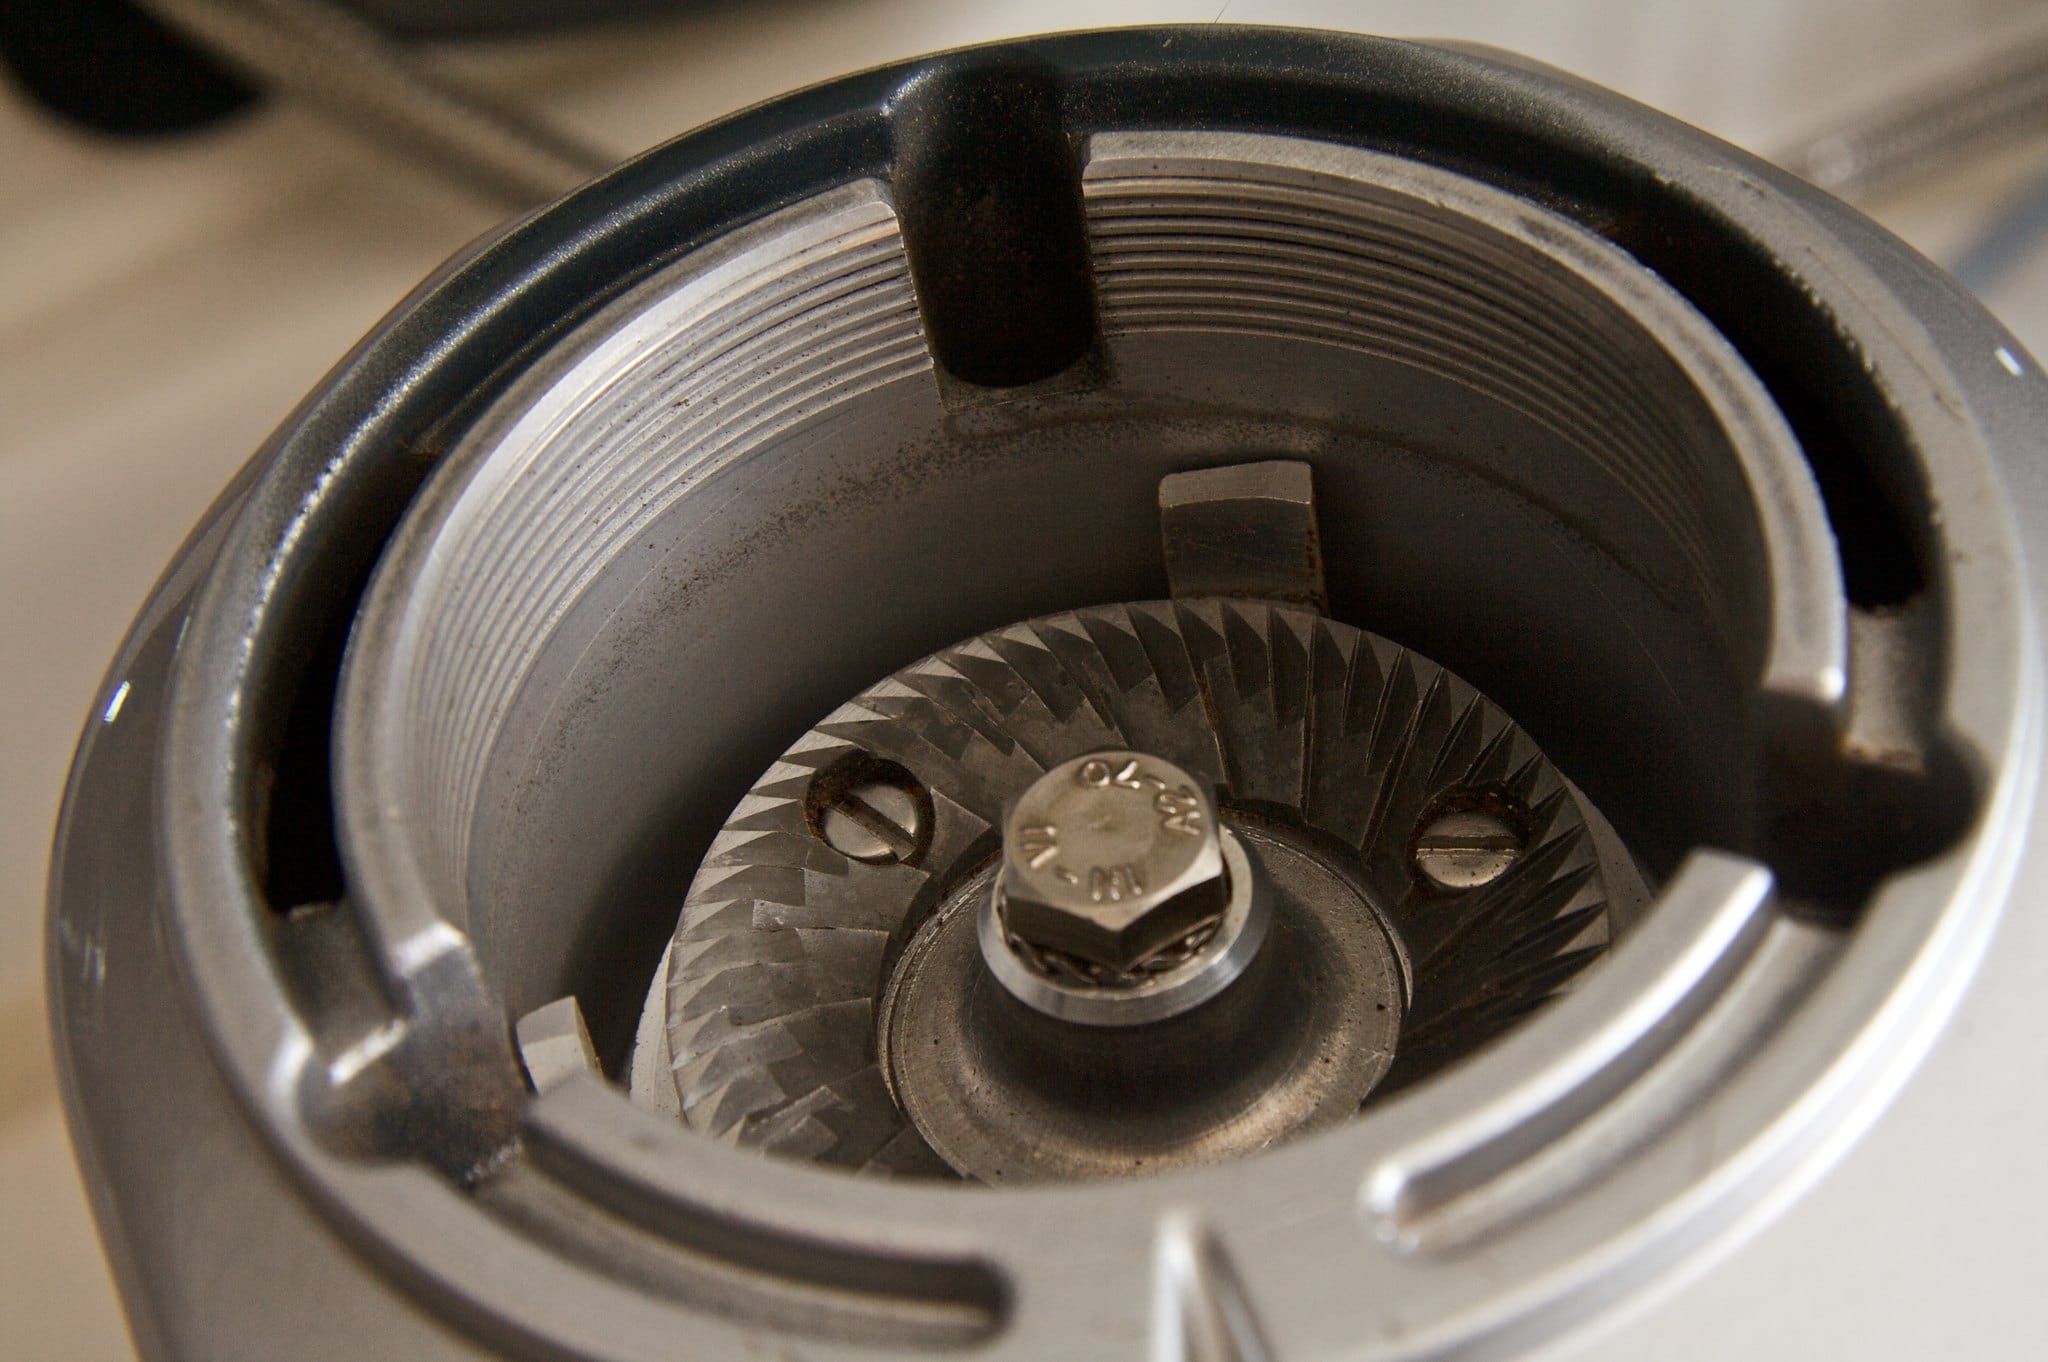
Coffee grinders are considered the key to producing the best quality coffee at home. Purchasing your coffee grinders will open an avenue of tasting the actual coffee far from the usual stale, store-bought coffee packs. Over time, coffee grinders will form grind build-up that may affect the overall quality of your coffee. This could be solved by cleaning your coffee grinders.
Far from what people expect of this machine type, coffee grinders cannot be washed and cleaned with water. The main blade mechanism is fully intact with the whole machinery and can be instantly damaged when drenched in water.
How Do You Clean a Coffee Grinder? (Blade Grinders & Conical Burr Grinders)
Cleaning your coffee grinders involves a different approach: dry cleaning. This means that there’s no liquid or watery substance to be used on the equipment. It also involves running your coffee grinders with spare coffee beans that will season your blades. Seasoning blades include the use of beans as abrasion to clean the blades—while keeping them sharp.
Unplug the grinder
Before cleaning your coffee grinder, make sure to unplug it from the electric source. Although you will not use water on this cleaning method, the cleaning brush might cause electric shock. Place your grinder on a dry surface afterward.
Clean the lid with warm, soapy water
Removable parts of the grinder (i.e., lids) with dishwasher-safe material. You may place it inside a dishwasher or wash it with warm, soapy water. Don’t place the base near the washing station to prevent water from splattering the grinder’s base. Place the lid on a drying rack, or you may wipe it quickly with a dry towel.
Remove coffee grinds and other particles
Grab your base and inspect the pieces. If it is attached with a screw, consider removing the parts with a screwdriver. Get a bowl or container to collect the coffee grinds. Flip and slightly tap the base until large clumps are removed. You may use dry, soft-tip brushes to remove the dirt gently. You may use wooden toothpicks and cotton swabs to wipe the ingrained dirt away for tighter, hard-to-reach spaces.
Season your blades
You may sharpen your blades by placing spare coffee beans inside the grinder. Do not use rice and other beans as a substitute. Rice is typically harder than coffee beans, and it could damage the blades rather than sharpening them. Blade damage due to rice marks is not under warranty—which means that the company will not provide blade replacements if it is damaged through the rice.
Wipe the insides clean
If you want extra cleaning for your grinder, you may wipe the insides using a dry cloth. If you want to use a damp cloth, make sure that the water is not dripping wet. Dry the insides clean before reattaching the lid and other removable parts.
Clean the base
You may detach the grinder from its base. If there are visible specks inside the base, tap it gently to loosen it. Be super gentle in cleaning the base, for there are wires that may detangle when pulled. Please do not use any liquid or cleaning mixture on the base to damage the engines.
Consider using cleaning pellets.
Deep cleaning your coffee grinders must be done once a month. Using cleaning pellets suitable for your coffee grinder will ensure better-tasting coffee and longer-lasting machines. Purchase cleaning pellets suitable for your equipment. After emptying the grinder, place one capful (for espresso grinders) to two capfuls (for commercial grinders) and adjust it to a medium setting.
To purge the cleaning pellets, place spare coffee beans and grind them. Repeat this process until specks of cleaning pellets are already removed. Wipe the particles from the hopper, spout, and doser with a dry cloth.
How Often Should You Clean a Coffee Grinder?
Typically, it would be best if you cleaned your coffee grinder after use. You may lightly clean it by brushing away the sediments with a soft-tip brush and wiping the lid with a damp cloth. The grinding chamber, burr hopper, and burr grinder should be cleaned every one to two weeks.
Weekly cleaning includes removing the grinding residue using a dry brush, wooden toothpick, and cotton swabs. After unplugging your grinder, proceed on pulling apart the removable parts. Burrs, spout, lids, and hopper is usually the detachable parts of the coffee grinder. If your hopper is made with plastic material, you may clean it with the coffee lid on warm, soapy water.
On the other hand, the grinding mechanism should only be brushed with a dry brush. Hard-to-reach areas could be reached with a wooden toothpick or with cotton swabs. After cleaning the grinder, grab the base upside down and place it above a bowl. Tap it few times until clamps of dirt were released.
Remove the remaining dirt with a cleaning brush. Make sure to grab the old grinds and oils out of the machine. Old grinds and oils will affect the brewed coffee’s taste by destabilizing the new flavor and aroma to sip in the liquid.
The feeder channel or chute where the coffee grinds are released must be cleaned as well. If the chute is small, use cotton swabs to clean the mess effectively. Before placing the grinder back into its pieces, please give it a final wipe using your clean towel. For residual coffee oils and dust, dusting your container and plastic parts with baking soda while brushing it will help. This will also remove the unwanted food odor and other greases, leaving it squeaky clean.
Picture from Nicholas Lundgaard.

